Contouring for Beginners: The Only Guide You'll Need
Forget the complexity — contouring is just shadow and light, and here's how to get it right every time.

Contouring has a reputation for drama: the intense cheekbones, the chiseled jaw, the dramatic before-and-after photos. This version of contouring is real but it's also extreme — designed for photography and stage performance rather than everyday wear. The contouring that works for daily life is subtler, faster, and based on a principle simple enough to explain in one sentence: shadow recedes, light advances.
The Principle That Makes It Work
Contour shade goes where you want features to appear more recessed: the hollows of the cheeks, the sides of the nose, the jawline, the temples, the perimeter of the forehead. Highlight goes where you want features to advance: the high points of the cheekbones, the bridge of the nose, the center of the forehead, the chin.
The colors should mimic natural shadow and light — meaning the contour shade should be a warm or cool brown (not grey, not orange, not sparkly) and the highlight should be a matte or subtle-shimmer tone one to two shades lighter than your skin.
“Contouring looks natural when the shade looks like a shadow, not a stripe.”
Where to Actually Apply It
For everyday contouring, focus on two areas: the hollows of the cheeks and the temples. Nothing else is required for a visible but natural-looking result.
The hollow of the cheek: suck in your cheeks slightly to locate the natural hollow. Apply contour shade in a soft diagonal line from just below the cheekbone toward the ear — not down toward the mouth. Blend immediately and thoroughly with a fluffy brush or sponge.
Temples: a soft sweep of the same contour shade along the hairline on either side of the forehead frames the face and adds warmth. Blend until there are no edges.
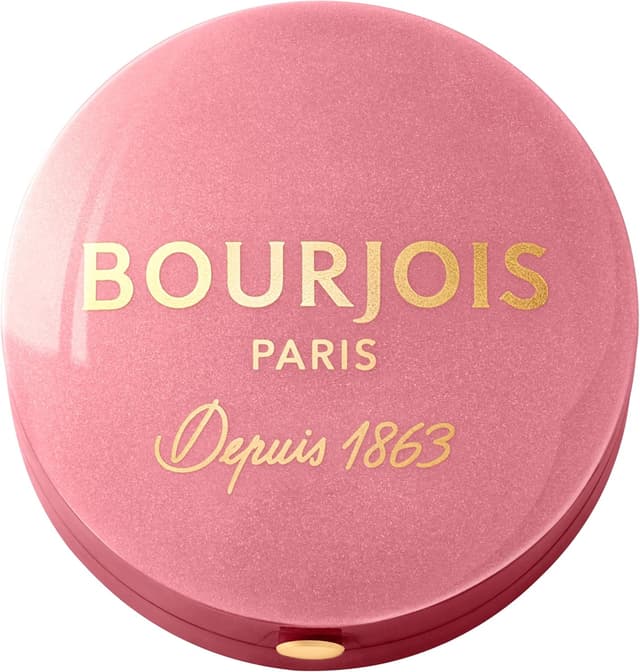
Bourjois Little Round Pot — Rose d'Or (34)
The iconic French powder blush since 1863. Shade Rose d'Or with a satin pearlescent finish for a natural flush.
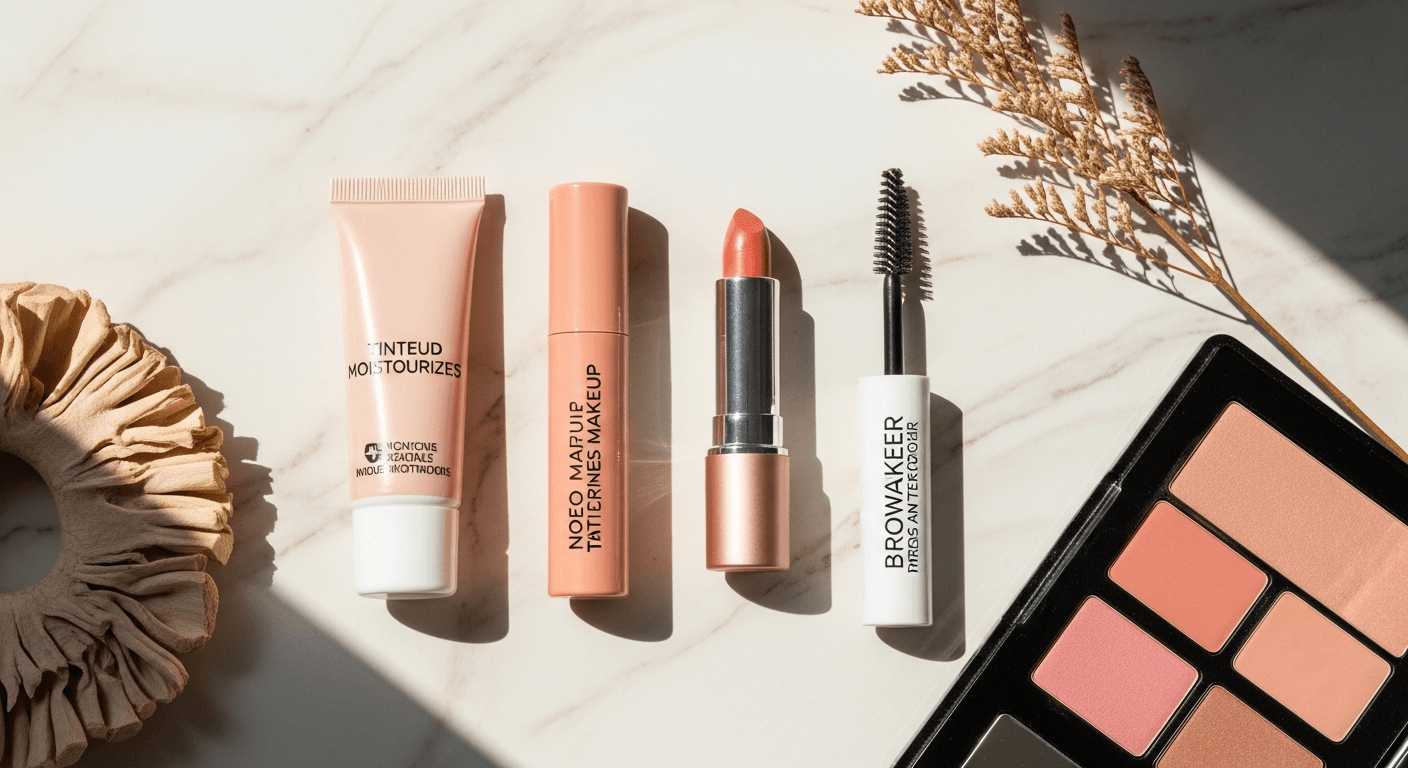
Products That Make It Easier
Cream contour formulas are significantly easier for beginners than powder — they blend more forgivingly, allow for more building and correcting, and look more natural on the skin. Apply with fingers or a sponge. Set with a light translucent powder if you need more longevity.
Avoid contouring kits with five or more shades in your first few attempts — one contour shade and one highlight shade is all you need. Add complexity after you've mastered the two-product version.